Blog
How do health data webhooks deliver wearable data?
How ROOK health data webhooks deliver wearable events and summaries, how to verify them with HMAC, what to answer, and what happens when a delivery fails.
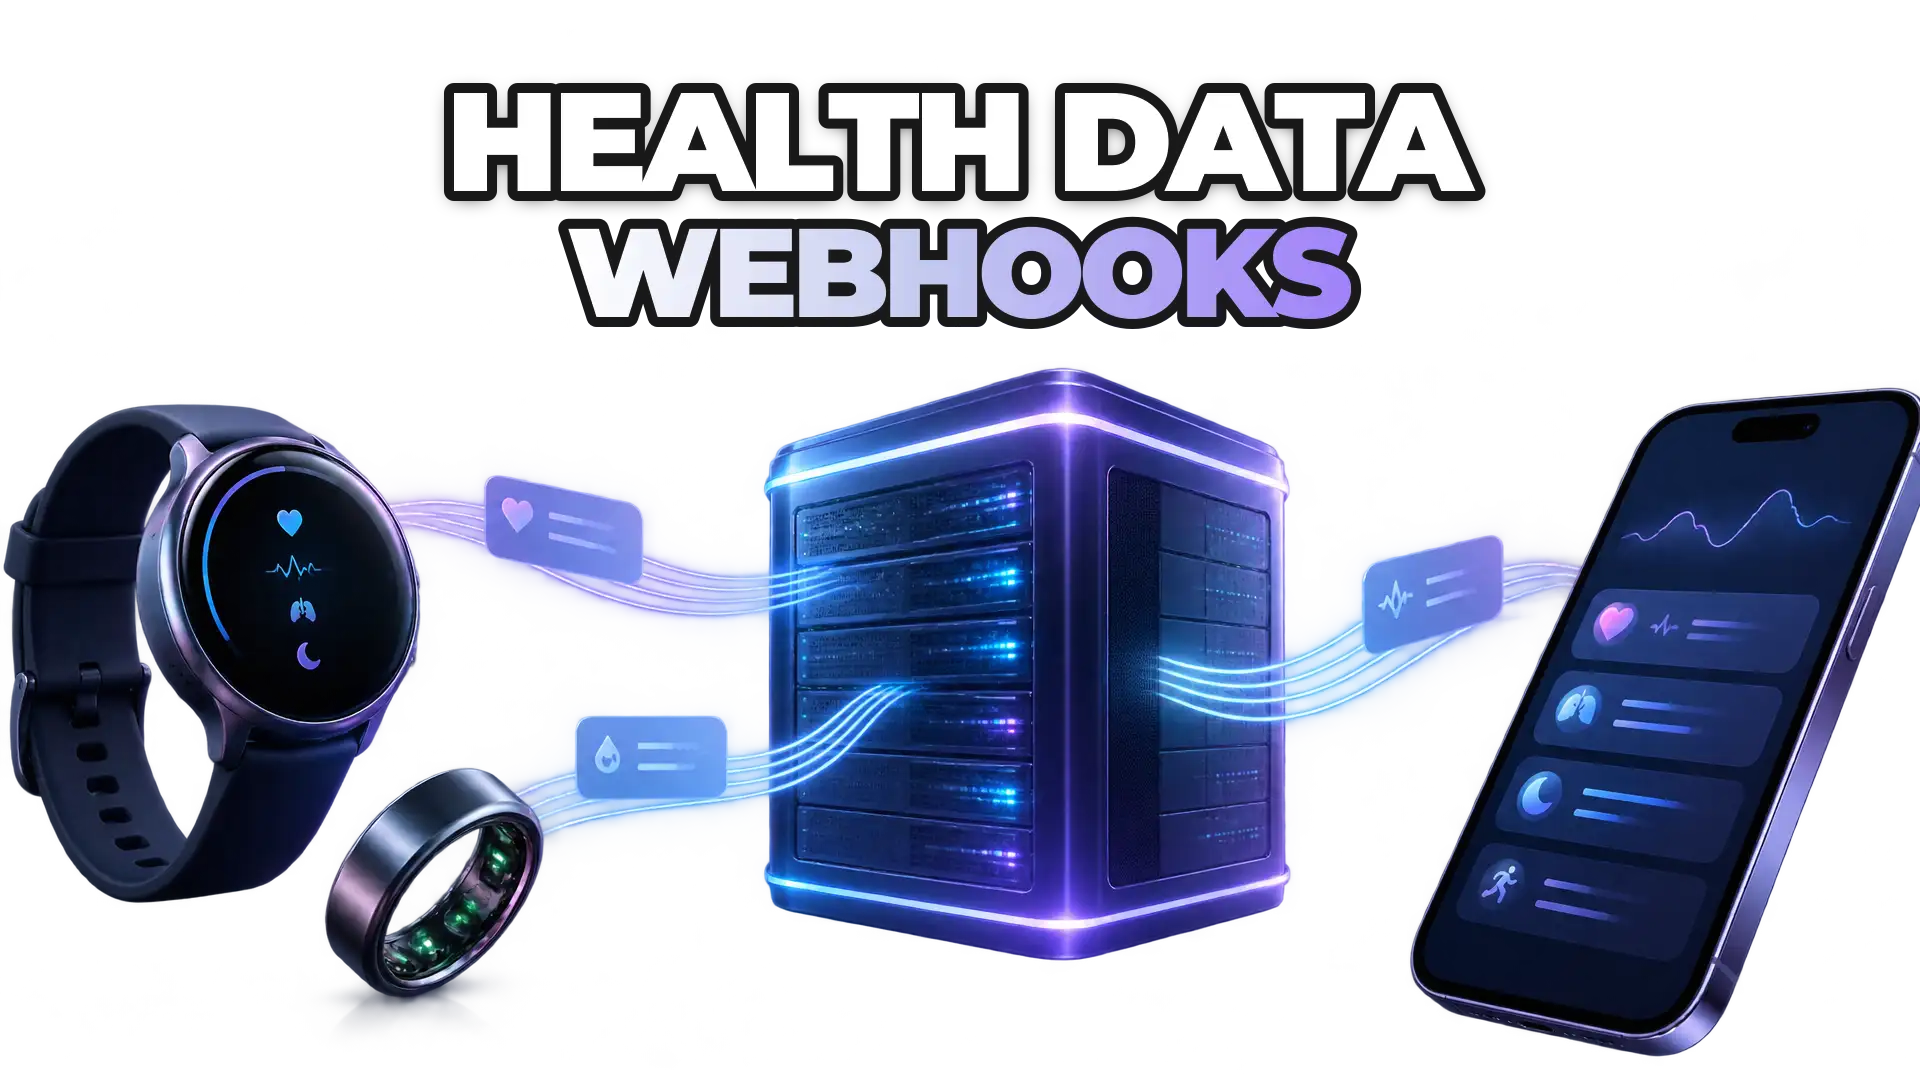
A health data webhook is an HTTP POST that ROOK sends to your backend the moment new wearable data is ready, so your app never has to poll for it. ROOK Connect delivers events and daily summaries for the physical, sleep and body health pillars as JSON, signs every payload with an HMAC header, and retries failed deliveries at 2, 24 and 48 hours.
What is a health data webhook?
A health data webhook is a push notification between servers. Instead of your backend asking ROOK every few minutes whether a user has new steps or a new sleep record, ROOK calls a URL you own as soon as that data exists. Your server receives a JSON payload, stores it and answers with a success status.
Webhooks are the delivery method ROOK recommends for real-time updates from the ROOK Connect Wearable API. The ROOK API remains available for on-demand queries, and both return the same JSON schemas, so the code that parses a webhook also parses an API response.
What data does a ROOK webhook deliver?
ROOK data webhooks carry two kinds of payloads:
- Events, sent when something new is measured, such as a step count or a heart rate reading.
- Summaries, sent when a daily report is generated, such as a daily activity or sleep summary.
Both cover the three ROOK health pillars: physical, sleep and body. Summaries are extracted and delivered according to each user's time zone, so a sleep summary belongs to the night the user actually slept. Every payload names the sources that produced it, which is how one webhook format works for Garmin, Oura, Apple Health or any other supported data source.
How do you verify that a webhook came from ROOK?
Every ROOK webhook includes an X-ROOK-HASH header. Your backend computes an HMAC of the payload with your secret and compares it with that header. If they match, the payload came from ROOK and was not modified on the way. If they do not match, discard the request.
HMAC validation matters for health data in particular: an endpoint that accepts any POST would let anyone write fake readings into your users' records.
What should your endpoint answer?
Your webhook endpoint must accept HTTP POST requests with a JSON body and confirm receipt with one of these status codes:
- 200 OK
- 201 Created
- 202 Accepted
Any other response counts as a failed delivery and triggers a retry. A good pattern is to store the payload, answer 202 Accepted right away and process the data afterwards, so a slow database never turns into a failed delivery.
What happens when a delivery fails?
When your endpoint does not confirm a delivery, ROOK retries it three times:
2 hours after the first attempt.
24 hours after the first attempt.
48 hours after the first attempt.
If every retry fails, the data is not lost. ROOK keeps it in storage buckets for you to retrieve: 3 days in the Sandbox environment and 10 days in Production. Monitoring your endpoint's error rate is still worth it, because data that waits in a bucket reaches your users later than it should.
When should you use the ROOK API instead of webhooks?
Use the ROOK API for specific on-demand queries, and webhooks for everything that should arrive as soon as it exists. The ROOK API is not real time, and it enforces rate limits that depend on your plan. Typical limits are 60 requests per minute and 10,000 requests per day.
The ROOK API is also not a storage layer. Your application should keep the data it receives from ROOK in its own backend and query that backend, not ROOK, when a user opens your app. The ROOK data delivery documentation covers both methods in detail.
How do you set up ROOK webhooks?
Setting up ROOK data webhooks takes three steps, whichever of the 72 data sources and more than 500 devices your users connect:
Prepare a URL on your backend that accepts HTTP POST requests and processes JSON payloads.
Configure it in the ROOK Portal, in the Webhooks section. Sandbox and Production each need their own configuration.
Validate the X-ROOK-HASH header and answer with 200, 201 or 202.
During development, a request inspector such as Webhook.site shows exactly what ROOK sends before your own endpoint is ready. Keep in mind that ROOK only delivers JSON payloads up to 16 MB.
Notification webhooks are a separate add-on. They report integration events such as a user being created or deleted, a data source being connected or disconnected, or a failed data retrieval. They are set up by ROOK Support.
Where can you go from here?
 Written byDiego CedrónCompliance Engineer | Backend Developer